· Tutorials · 2 min read
How to Install an ICC Profile on macOS
A step-by-step guide to installing an ICC profile on macOS, so you get the full benefit of color management for your creative projects.
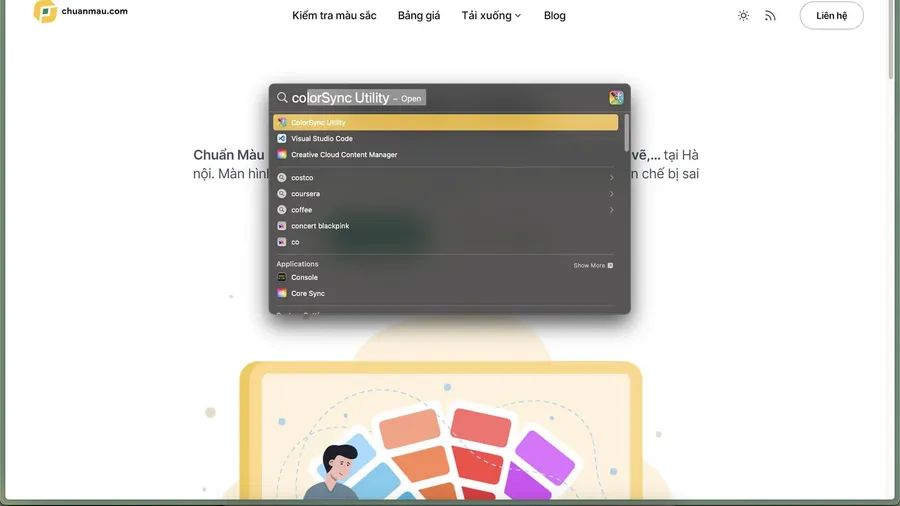
Step 1: Open ColorSync Utility
macOS ships with a built-in tool called “ColorSync Utility” for managing color profiles. To open it:
- Go to “Applications” > “Utilities” > “ColorSync Utility.”
Step 2: Install the ICC Profile
Once ColorSync Utility is open, installing the profile is straightforward:
Drag and drop the ICC profile file you want to install into the ColorSync Utility window. Or click “File” > “Open” and select the ICC profile from wherever it’s saved.
Step 3: Confirm the Installation
To confirm the ICC profile installed correctly:
In ColorSync Utility, the new profile should appear listed on the left under “Profiles.” You can also check inside other apps like Adobe Photoshop or Preview. Open an image, then look for the “Proof Setup” option under “View” or “Tools.” If the installed profile shows up in that list, it’s installed correctly.
Step 4: Set the ICC Profile as Default (Optional)
If you want to set the newly installed profile as the default for your display or printer:
- Open “System Settings” > “Displays” for a monitor profile, or “Printers & Scanners” for a printer profile.
- For a display, go to the “Color” tab and choose the profile you want from the list of available profiles.
- For a printer, select your printer from the list, click “Options & Supplies,” then “Driver” or “Options,” and look for a “Color” or “Color Management” tab to set the default ICC profile.
No .icc file yet? Chuẩn Màu’s calibration service exports an ICC profile made for your display.